In today’s highly competitive market, it has become essential to stay updated to stay on the top. Product owners must focus on the design and development of their application for it to become user-friendly before someone else launches it in the market.
Designing your application “right” is exceptionally crucial to outstand your competitors.
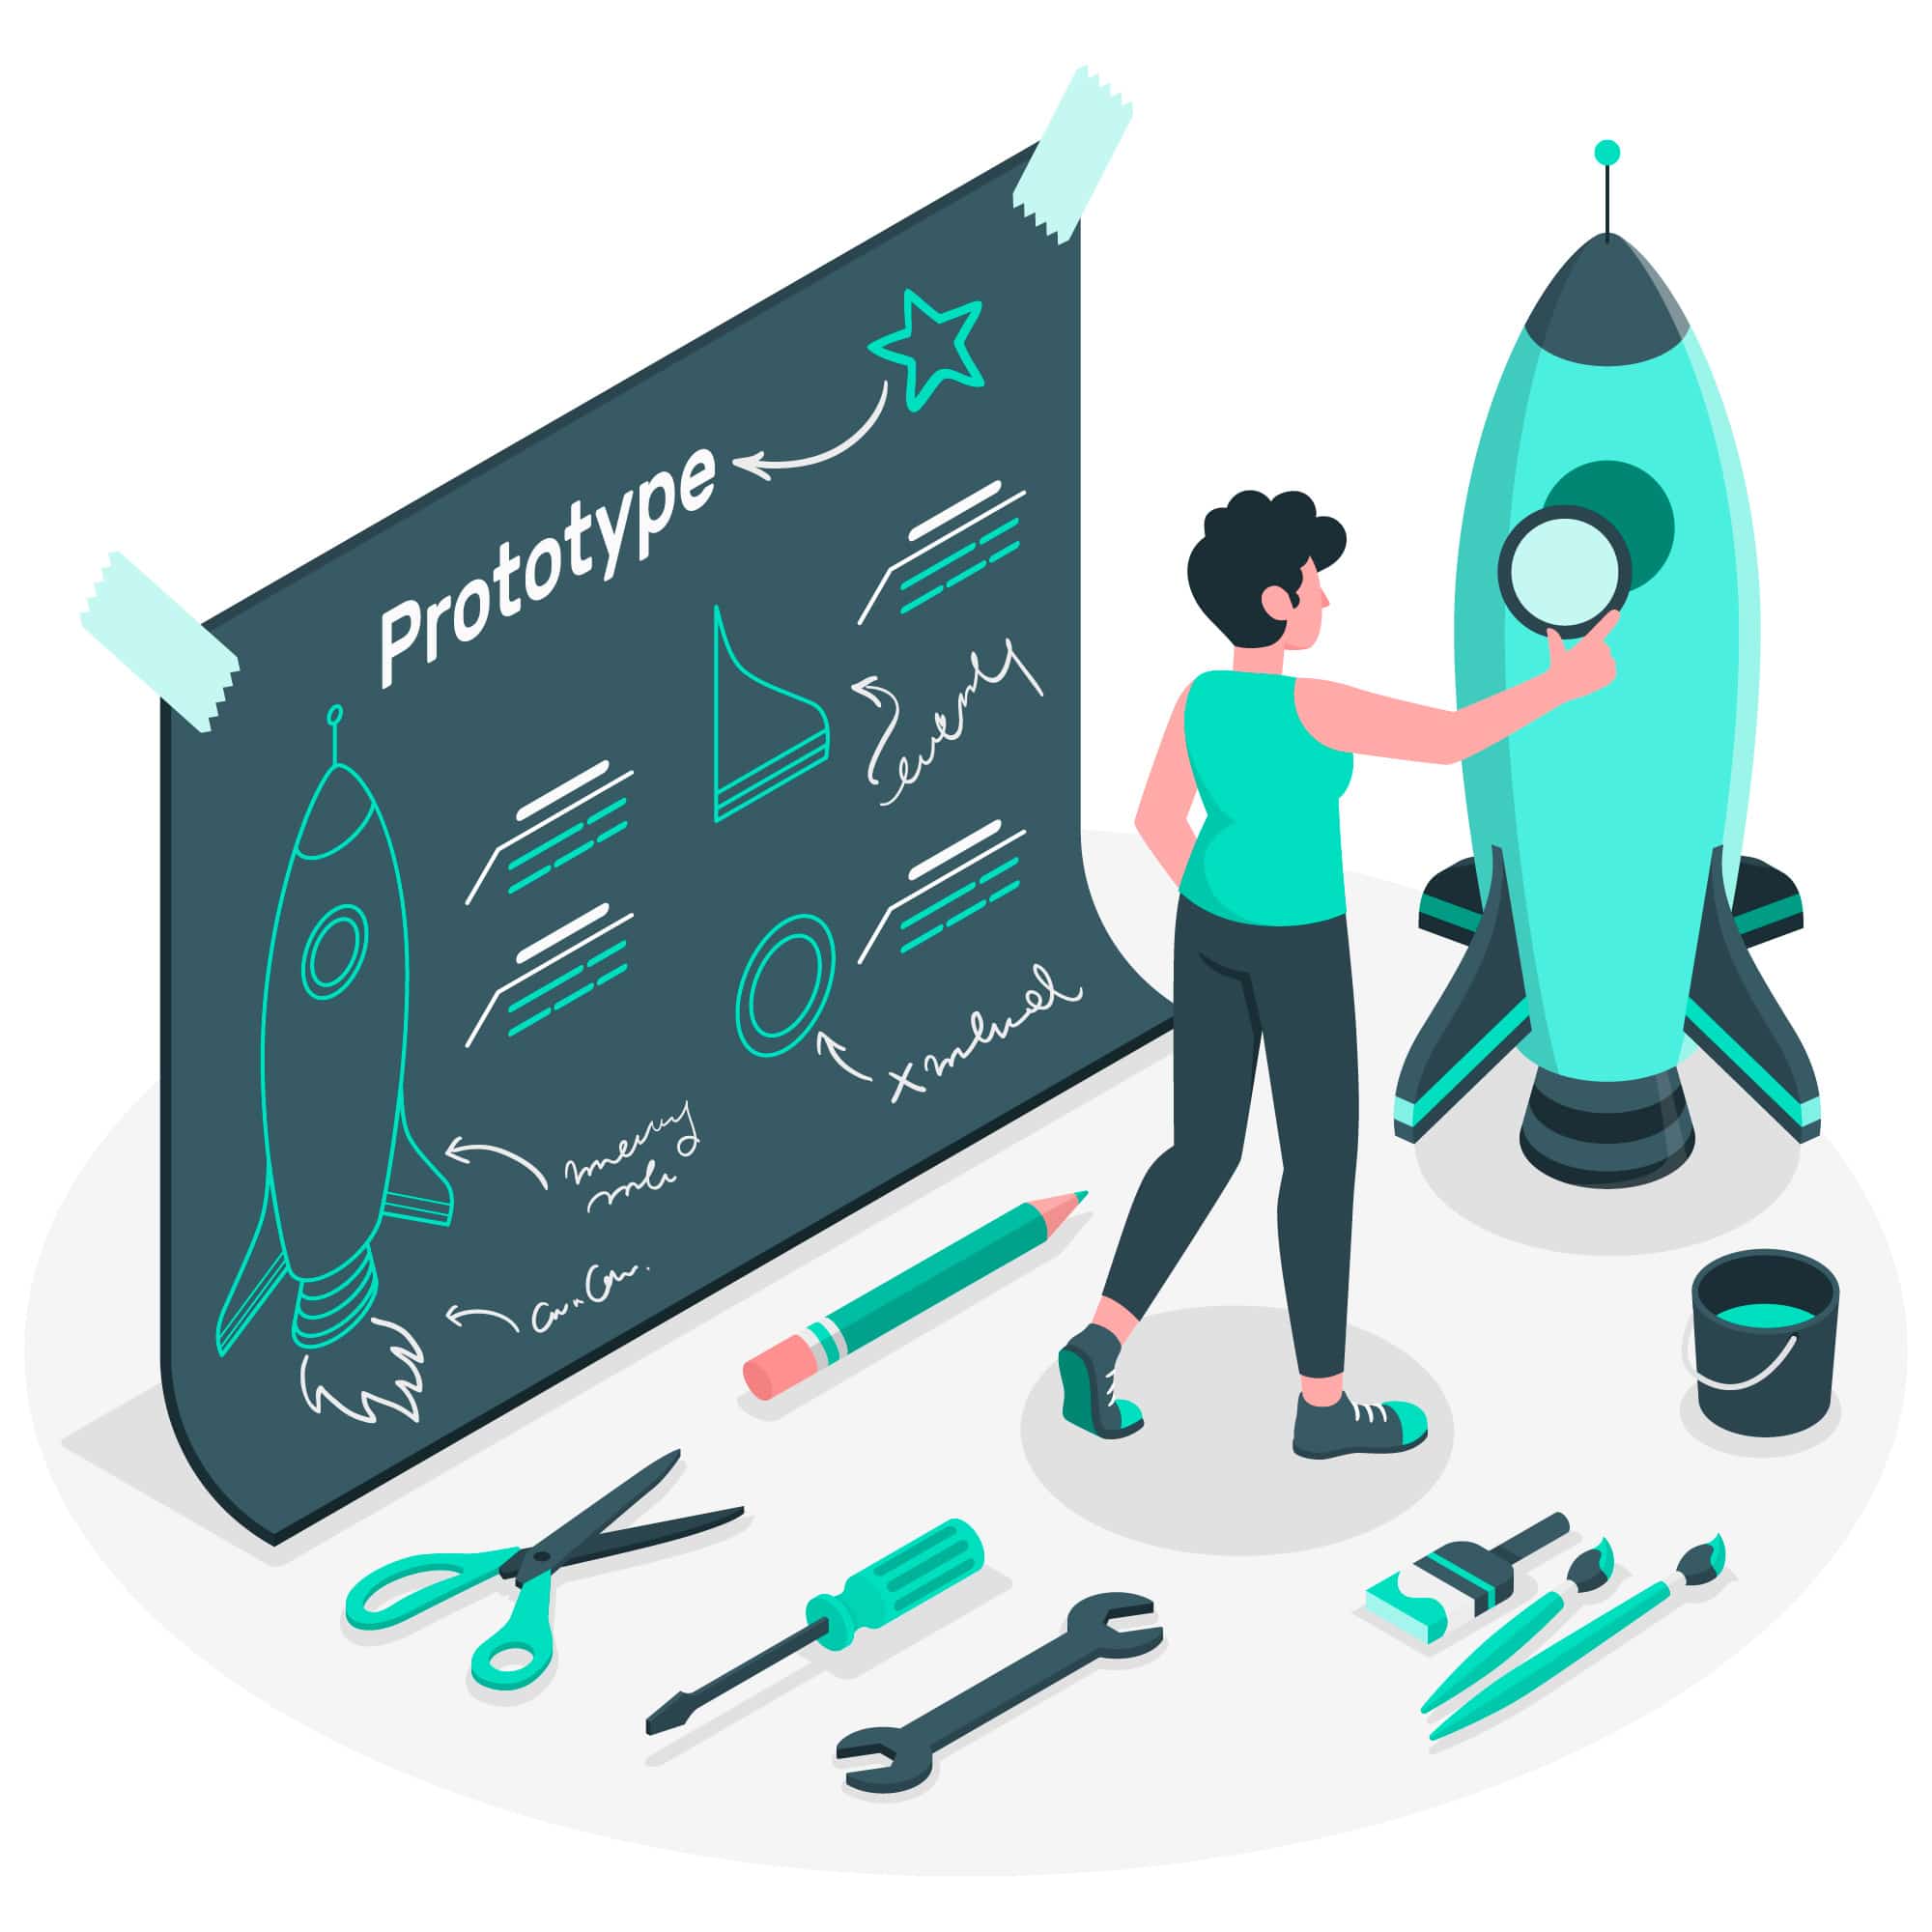
An application is a bundle of thousands of features and processes it has or goes through. One such vital process of building up your application is Prototyping.
Knowing how to build up the right prototype to generate required responses would obviously give you an edge over those who are still struggling with it.
After gaining relevant information on the subject, you would be able to enhance your application and hook your audience to it.
Generating an excellent user response is all that a product owner aims at, Prototyping can get you there!
For many teams, Prototyping is still a struggle, and one of the most confusing parts of UX designing.
By the time we complete this article, half of your struggle and doubts will be over, and you will be one step ahead from where you are at.
In this article, we will cover:
- What prototype is?
- When do you need to use these prototypes?
- What is a Low-fidelity Prototype and what is a High-Fidelity Prototype.
- What are the techniques to be used to develop these prototypes?
What is a prototype?
Typically, a prototype is a design concept that allows the designer to shape their design ideas to a close to an actual working model. In the design context, a prototype is a simulation of the final communication between the user and the interface.
Depending upon the need of the product team, a prototype can simulate a single page-interaction or a full-fledged application.
A prototype holds its essence in the idea of interactivity.
Building up a prototype for an application before you actually launch it will give you an idea of how it will work once you propose it into the market.
It allows the UI/UX designer to build up an application that is just perfect for the users to engage in.
Through the right prototype model for your application, you can make changes and eliminate the risk of negative feedback later.
What is the need for a prototype?
You might think, “I don’t need this. I’ve thought this through”, but it’s better not to ignore this phase of your product development as this is directly relational to its success.
Your design will obviously be tested by your actual target audience when you launch your product, and people start using it. If you skip the process of Prototyping, there are higher chances that you will get a negative response from users when your application becomes available.
Therefore, it is better that you collect the feedback during the research phase only and implement the required changes before the launch.
The goal to build a prototype is:
- An interactive version of a product idea makes it easy for you to test the concept with real users. You can simply show the model to your users and identify what they like and don’t like about it. It would give you an idea of how your audience wants to use your product and what are the parameters that you still have to work on. It will make sure your design concept works as planned.
- Prototype finds and determines the usability issues even before the application is launched. When you test your product through Prototyping, it can reveal the areas that you need to put more focus on. Many teams have their users test the prototypes they built and fix the flaws until it’s flawless.

FIDELITY:
Fidelity is the level of exactness and realism a prototype is built to convey. A prototype can have different levels of fidelity, as they might not look exactly like the final product.
How the prototype conveys the look and feels of the final product is known as product fidelity.
Product fidelity can vary in three main areas:
- Graphics
- Content
- Interactivity
The two extremes of different kinds of prototypes are:
- Low-Fidelity Prototype
- High-Fidelity Prototype
What is a Low-Fidelity Prototype?
Low-Fidelity or Lo-Fi Prototyping is a quick and easy way through which you can render complex design concepts into a physical commodity. Lo-Fi Prototyping focuses on checking how functional your application is more than checking how appealing it is to the eyes of your viewers.
Some attributes of a Lo-Fi Prototype:
- Only the primary characteristics of your final product are presented, like shapes of elements.
- Only the essential content is presented
- Real humans simulate this prototype. A person who is familiar with the design makes real-time changes manually, acting as a computer, during the testing phase. Interactivity can also be created through wireframes (connected wireframes). This prototype is just wireframes linked to each other inside of an application using a digital prototyping tool.
Advantages of Low-Fidelity Prototyping:
- Cost-effective: It costs extremely low to build up a lo-fi prototype.
- Quick: If you create a lo-fi paper-based prototype, it would take you merely 10 to 15 minutes.
- Shared Efforts: Since the lo-fi prototype doesn’t require too many skills, even a novice designer can contribute to building it up, even non-designers can collaborate with it. This Prototyping imitates joint efforts.
- Builds clear expectations: A lo-fi prototype gives both the stakeholders as well as the team members a clear perspective of what to expect out of their upcoming project.
Disadvantages of the Lo-Fi Prototype:
- Requires a lot of imagination: A low-Fidelity prototype does not provide the designers with precise results of what is supposed to work and what isn’t during the testing. A lot of work has to be done basing the requirements on your imagination. This, in turn, limits the outcome of user testing.
- This prototype doesn’t allow you to convey complex animations or graphics to the users.
Most standard techniques used to build a Lo-Fi Prototype:
- Paper prototype: Using this technique has nothing to do with any software. A paper prototype is used during the early phases of designing.
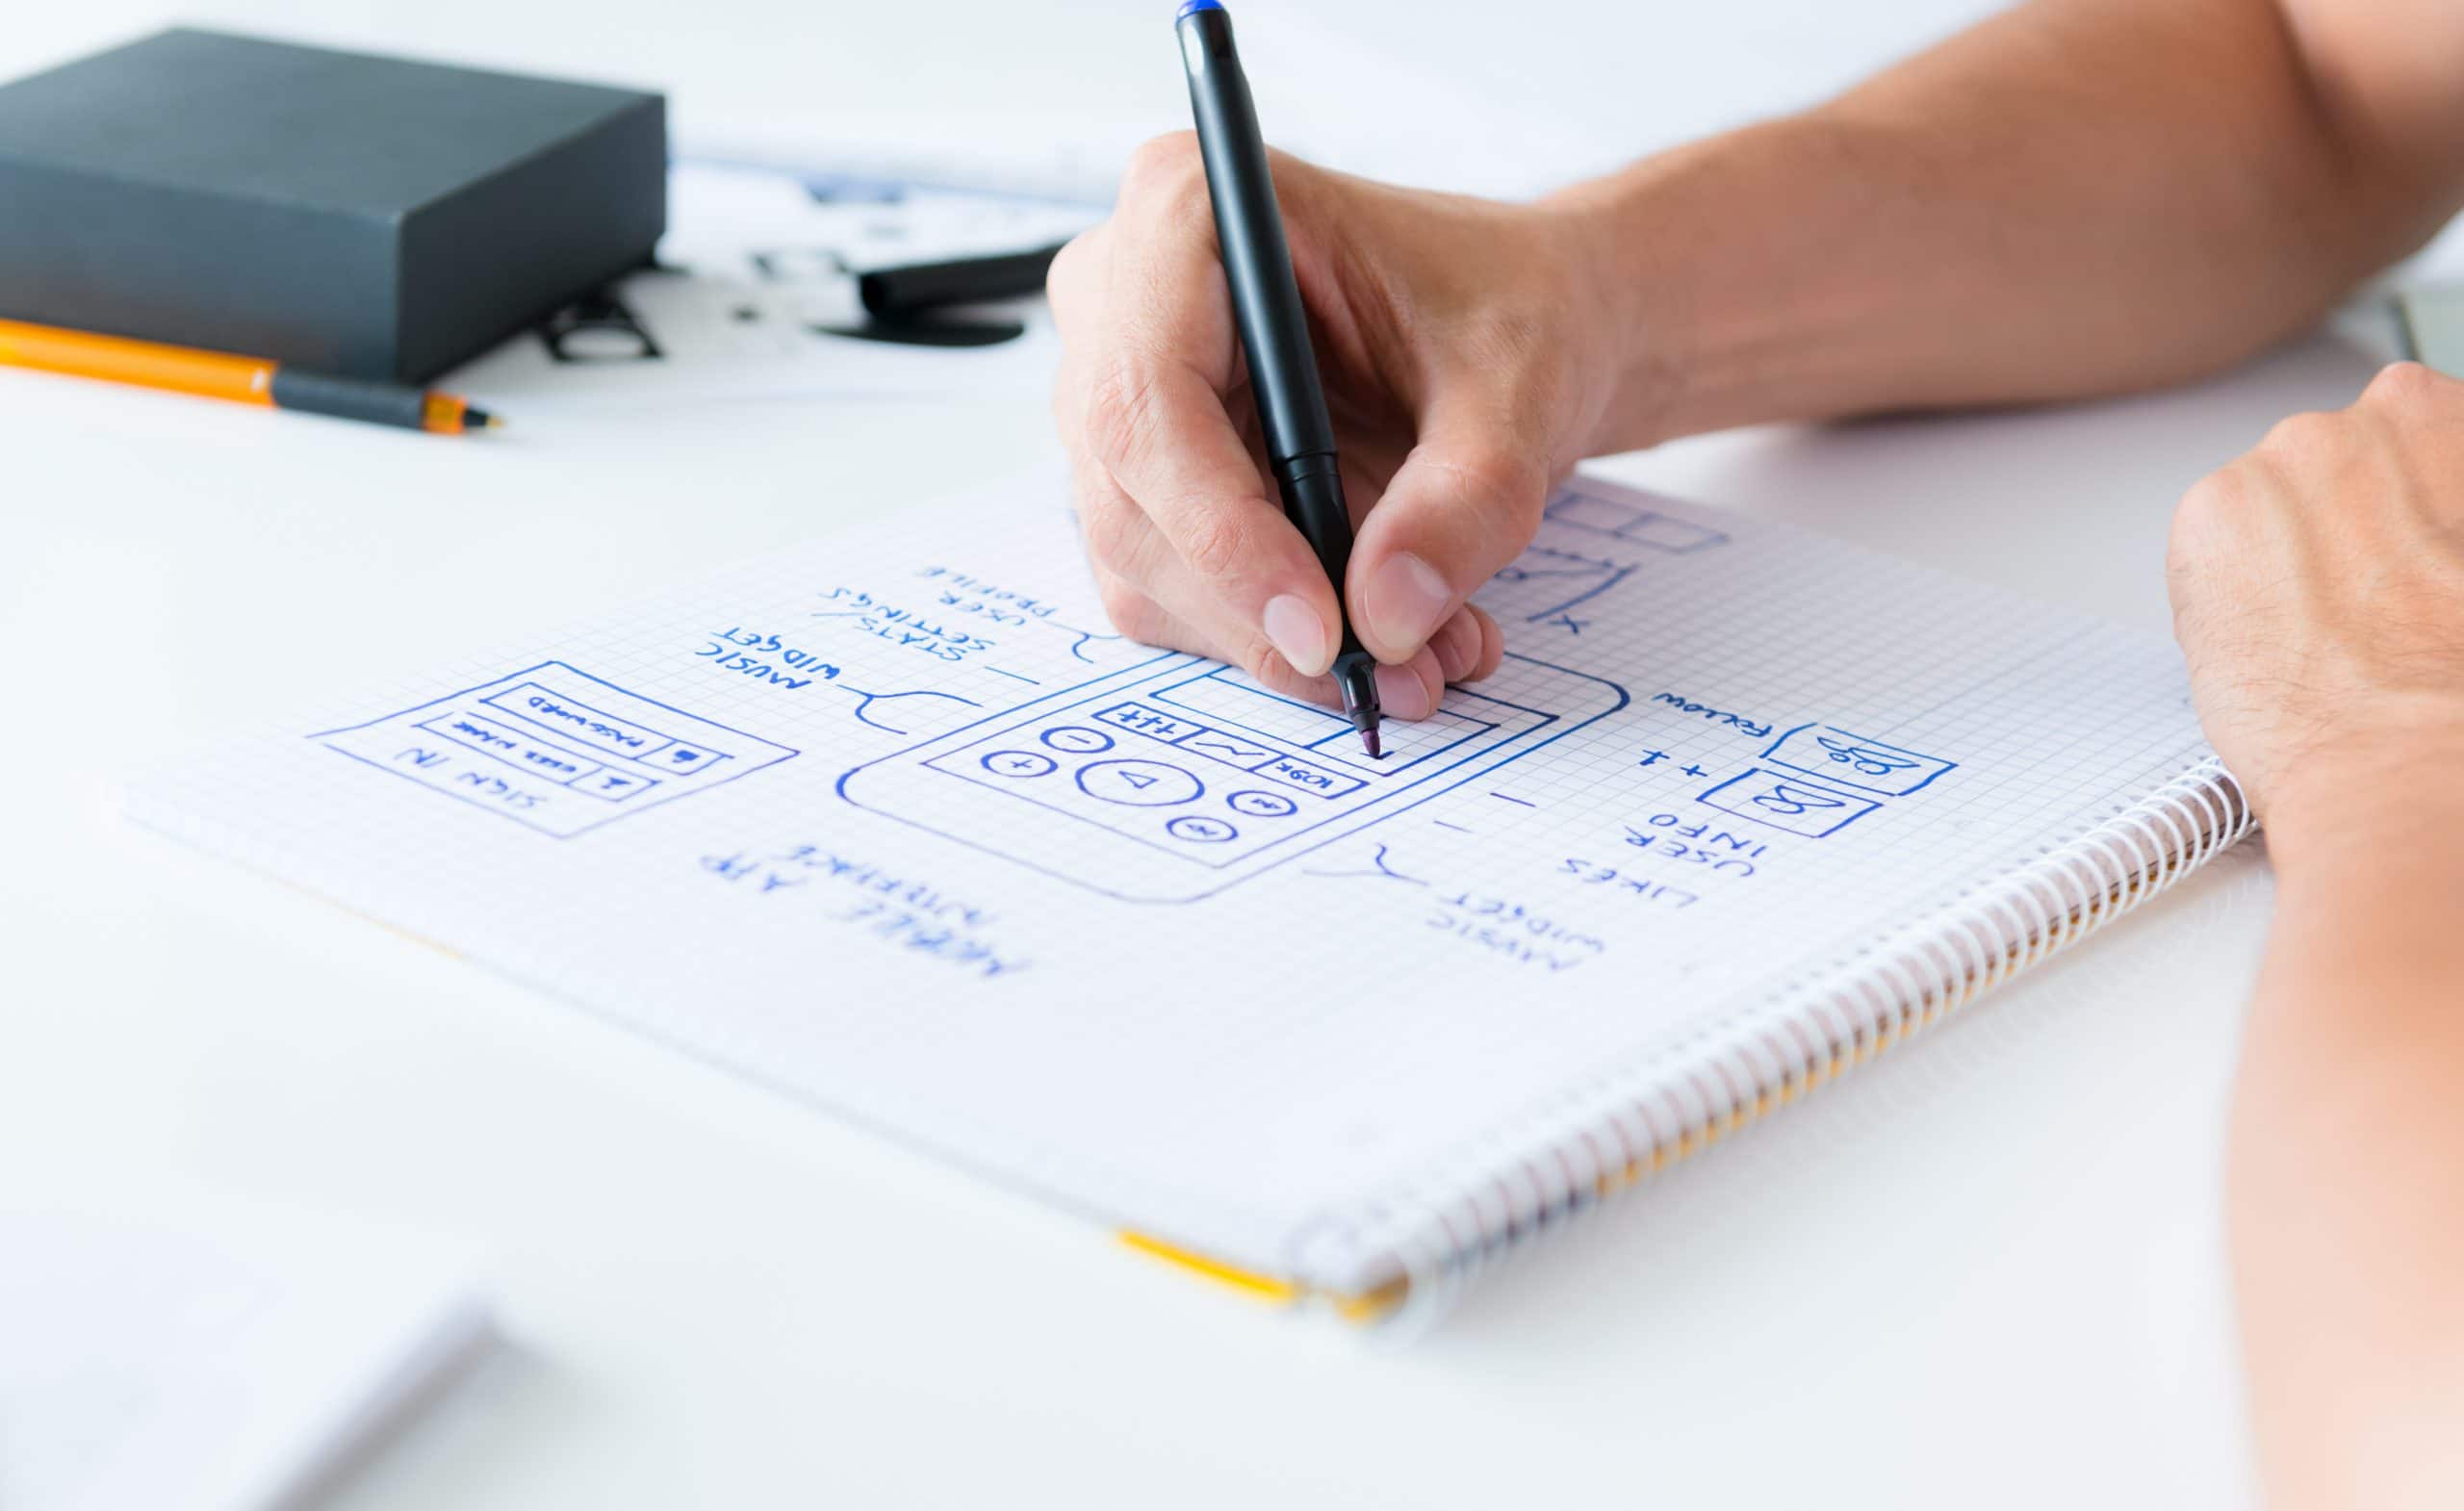
While building up this prototype, you can simply create drawings of different screens representing the user interface. It is the simplest of all techniques and is very useful when the product designers need to refine or explore the ideas.
Advantages:
- Anyone can build these prototypes since it doesn’t require knowledge of the software.
- Allow timely testing and figure out problems in the early phase.
- Gives way to experimentation, elements can be drawn, cut, pasted, copied, and made up again from the start.
- Unlike other prototypes, these can be used for future references. Documentation becomes easy.
- It makes making changes easy; you don’t like it? Sketch a new one.
However, Paper prototypes require the involvement of at least two individuals while you conduct the testing. It is also hard to convey visually-complex or highly interactive interfaces with paper prototyping.
- Connecting Wireframes: It is the visual representation of a product page used by designers to arrange page elements. These frameworks are called “clickable wireframes”- these are elementary forms of prototypes created by linking fixed wireframes together.What makes them better than paper prototyping is that they do not require more than one individual to build it up.
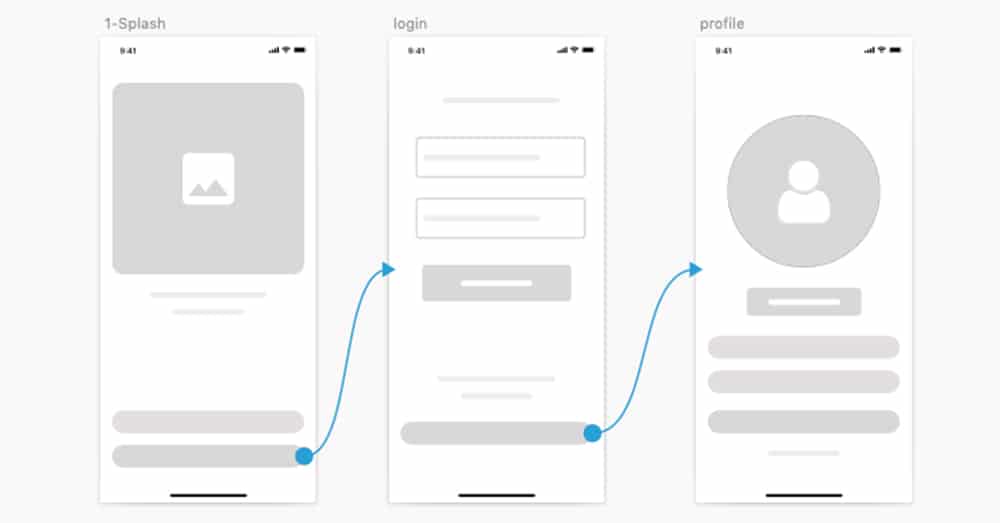
Advantages of using Clickable wireframes:
- At some point in the process, you will have wireframes that represent your design idea, that can be reused to create a clickable flow.
- It is easy for a designer to create or modify the wireframe according to the feedback he receives; this process can be repeated until he generates the desired model.
Low-fidelity prototypes can be easily created using tools such as PowerPoint.
What is a High-Fidelity Prototype?
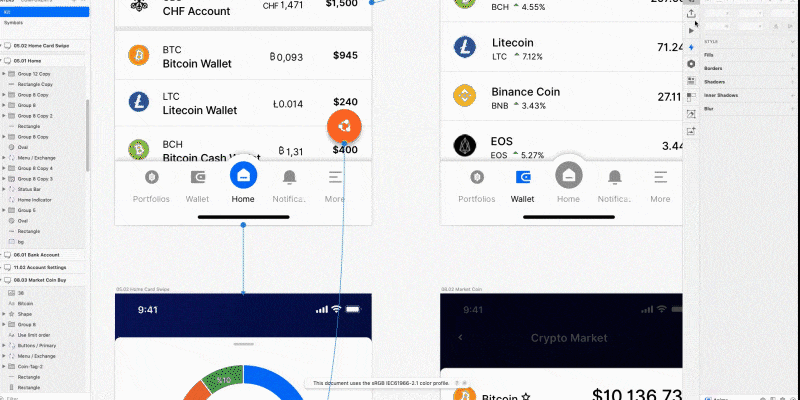
A High-Fidelity prototype is the interactive representation of a product that is as similar as possible to the end product. It is a computer-based representation.
High- fidelity simply refers to the levels of understanding that allow you to comprehend the usability questions in detail to bring out meaningful conclusions further. It not only covers the User Interface but also focuses majorly on User Experience.
The hi-Fi prototype is used by those designers who have a concrete understanding of what visual designs they would need to build their application on.
This is also used when the designers either need to test the model or share the final details with their stakeholders.
Some attributes of Hi-Fi Prototype:
- Everything looks very similar to what the actual app or website will finally look like. The details and designs are very realistic.
- The prototype includes most of the content that the application holds. The content presented in this prototype is either real or very similar to it.
- They are highly realistic in interactions too.
Advantages of the High-Fidelity prototype:
- Since it is as good as real, test participants behave more naturally as they would do with your actual product. Hence, it generates meaningful feedback during the process of usability testing.
- It allows testing specific graphical elements such as animated transitions or micro-interactions.
- The close to real experience makes it the best prototype to demonstrate your product to your stakeholders.
The only disadvantage the prototype has is that it could be a little heavy on your pocket, if budget is not a problem then nothing can be better than this.
Most common techniques used to build a Hi-Fi Prototype:
- Digital Prototype: Digital Prototyping is the most common form of building up a Hi-Fi Prototype and is mostly created using a unique tool. There are a variety of specialized software that lets a designer create dynamic prototypes that are full of interactive effects and have a nexus of animations.Benefits of using this technique are:
- Many specialized software enables the designer to view a prototype in a web browser or any other device. This serves as an advantage to the UI/UX designers to build up the most efficient layout for different device needs.
- Since most of the design is close to real, it does not give clarity of concepts to the designer during the testing. Hence, this allows the designer to focus on his own observation instead and generate personal opinions with user reviews.
- Coded Prototype: A coded prototype is the closest to the actual ready to be launched version of the product. It allows the test participants to explore different features of your product.This Prototyping is mostly done by the designers who are confident with their coding skills, if not your tech team can build it up for you.Some benefits of this technique:
- Coding allows you to understand the constraints as well as the capabilities of the platform they are designing the prototype for.
- A coding prototype can serve as the foundation of your final product. You can use up the coded prototype to build up a full-fledged application that is ready to be launched in the market; this is not something that you make for once and throw. It’s reusable. Imagine how much time and effort it would save when you construct your final product.
When should you use a High-Fidelity Prototype?
- When you are sure of what visual designs are needed for your product.
- When you have an idea of all the interactive elements that are to be used.
- When you want to test your product details in User Interface elements.
- When you want to test what impacts your graphics generate on your users.
- When you wish to generate user feedback on your design.
So, just by creating the right prototype for your product, you can ensure the enhancement of your website. The correct prototype lets you regulate the growth of your website and the changes that you need to incorporate to make your website engaging and user-friendly.
It is easy to boost up your app and its image in the market just by following the right steps. Almost every app developer builds up a prototype to augment his application toward success. This is where a tech team is most required, so you don’t lose to negligence.
Through prototypes, you can simulate your way to developing a perfect application for your audience.