Your product is your baby. It’s an emotional journey for you, where you think through every single aspect. You are aware of the technological challenges that you overcome, in developing your application.
But for users, your product is just another product in which they seek utility. They get introduced to your product, and all they care about is, “What’s in it for me?”.
There are different scenarios in which users download an app. But whatever the scenario, one thing is for certain that their attention span isn’t much. They may download an app while waiting for their bus, or randomly end up on it through a Facebook or Instagram ad. So if it’s your app that they are downloading, understand that you don’t have much time to make an impression.
If someone is viewing or using your application for the first time, then he or she doesn’t know what’s in store. So when developing your product, it’s important that you create a user journey that gradually introduces your product to your users. That’s how you can achieve your business goals. By letting users stay on your product instead of letting them bounce off.
So a crucial step while developing a product is to create user journey maps and UX flows, that take users closer towards your business goal.
Through this write-up, we will learn what user journey maps are and how you can create them.
What are user journey maps?
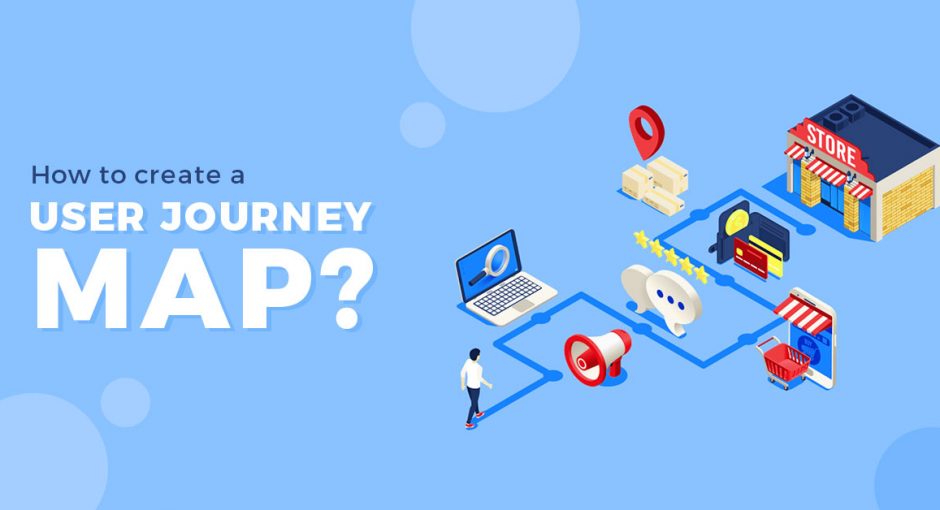
A user journey map is a pictorial depiction of a user’s interaction with your product. It’s a visualization of ideal actions that users should perform while interacting with a product, to get the best result out it.
It’s like going into your users’ shoes and experiencing your product. The idea is to create and link different touchpoints that a user goes through, to create a logical and immersive journey.
Different users have different motivations, expectations, and goals. Therefore you may have to create multiple user journey maps based on the user personas (we have discussed it below) you create.
Let’s take an example of a weather app to understand this. The following can be one of the many scenarios:
The user opens the app for the first time, to check the weather for the current week, but he is unable to enter his location. He finally reads the tutorial and obtains a customized weather report.
Now if you create a user journey map for the above scenario, you may add a step to enhance the UX. For example, you may want “action-specific tips” pop-up for users, so that they don’t have to go back and read the whole tutorial.
So what you are doing is, you are making your product more customer-centric.
Here are some of the questions that you may consider when creating a user journey map:
- How user-friendly is the app? Do users need a guide book to understand it?
- What is the engagement time of users?
- When a user switches to web from mobile and vice-versa, do they experience any gaps?
The answers to these questions can help you find the gaps in the user journey. You can use this information to create an experience that is immersive.
How to create a user journey map?
As mentioned above, a user journey map can include the entirety of a user’s interaction with your product, from the moment of downloading it or landing on it to the moment of filling the lead generation form. Or it can focus on specific parts of the journey, like the onboarding flow.
Following are the building blocks of user journey maps:
1. User Personas
You can’t create a user journey map for every single person, because that would be insanity. So a feasible way is to create a generic personality that somewhat aligns with your product’s goal.
If you keep a generic personality in mind while creating your user journey, you can better answer the whys and the whats that are related to your users.
You can list reasonable assumptions about different personas. Based on your product analysis, market research, and surveys, you can either validate or disapprove your assumptions and keep iterating.
For example, for the weather app, you may create the following user personas and follow the above steps:
- A commuter (who plan out his/her trips)
- A picnic host
- A professional traveler (who is always on the move)
Once you have drawn out your user personas, the next step to a user journey map for each of them. While creating the maps, try to figure out what’s meaningful for each persona, and how your product can help them achieve something that’s meaningful to them.
Try to create at least two journey maps for each persona.
2. Research, research, and more research
Research is never wasted. In this case, where you are required to understand aspects of product design and development that make or breaks user experience, research is Truth.
Taking users’ feedback who have journeyed applications similar to yours, is integral to your research. There are different ways to collect users’ feedback. We have written an article on this.
Your research should focus on the following aspects of UX:
- The Context: As we mentioned at the beginning, different users will interact with your product in different scenarios. Maybe they are in a rush, or maybe they feeling bored, or maybe they have landed on your product because of someone’s recommendation.
- Motivation: Different scenarios result in different motivations. What would drive your user personas to interact with your product? Why would they use your product instead of your competitors?
- Users’ Perceptions: If your product addresses and solves a problem, then how that problem would be perceived by your user personas? What are their perceptions based on? Is there a need to educate them on something?
- Users’ Pain points: This is where you may have to dilute some of your assumptions. You should remain true to users’ pain points, even if it calls for many iterations. Understand the obstacles that they are facing while using your product.
3. The Timeline
Before creating a user journey map for each persona, it’s a good practice to create a generic map. Through a generic map, you can understand the timeline of your users’ interaction.
The timeline includes:
- User touchpoints
- Standard actions
- Scheduled notifications
A user journey map should mention the channel through which a particular interaction will be done.
For example, if your user journey includes an interaction between a user and a pre-sales agent, then you must mention whether the conversation will happen over the phone or it will be a live chat.
If it’s a weather app, then users will mostly be on the move. So it makes more sense for them to chat with the agent rather than talk to him over the phone.
In case you have gathered considerable feedback, and have done enough behavioral analysis, you can also mention the emotional state of your users at various touchpoints. It’s important for you to identify whether a user will be confused or agitated at a particular touchpoint.
In the next write-ups, we will explain it further by using some exciting user journey examples. This write-up is entirely based on our experiences as a product development partner for our clients. If you have any query regarding this write-up, do mention them in the comment section.